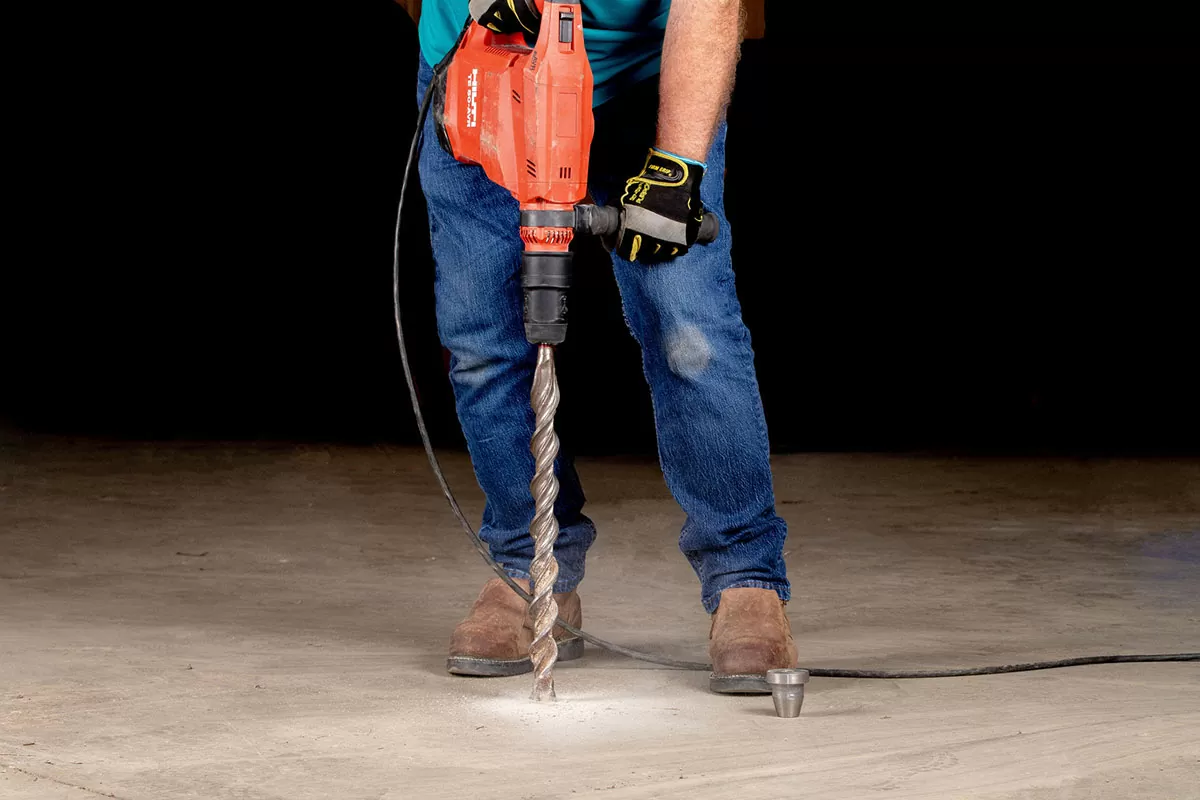
Step 1
While wearing PPE, drill a 1 and 1/2 inch diameter hole into the concrete slab to a depth of approximately 1 and 3/4 inch.
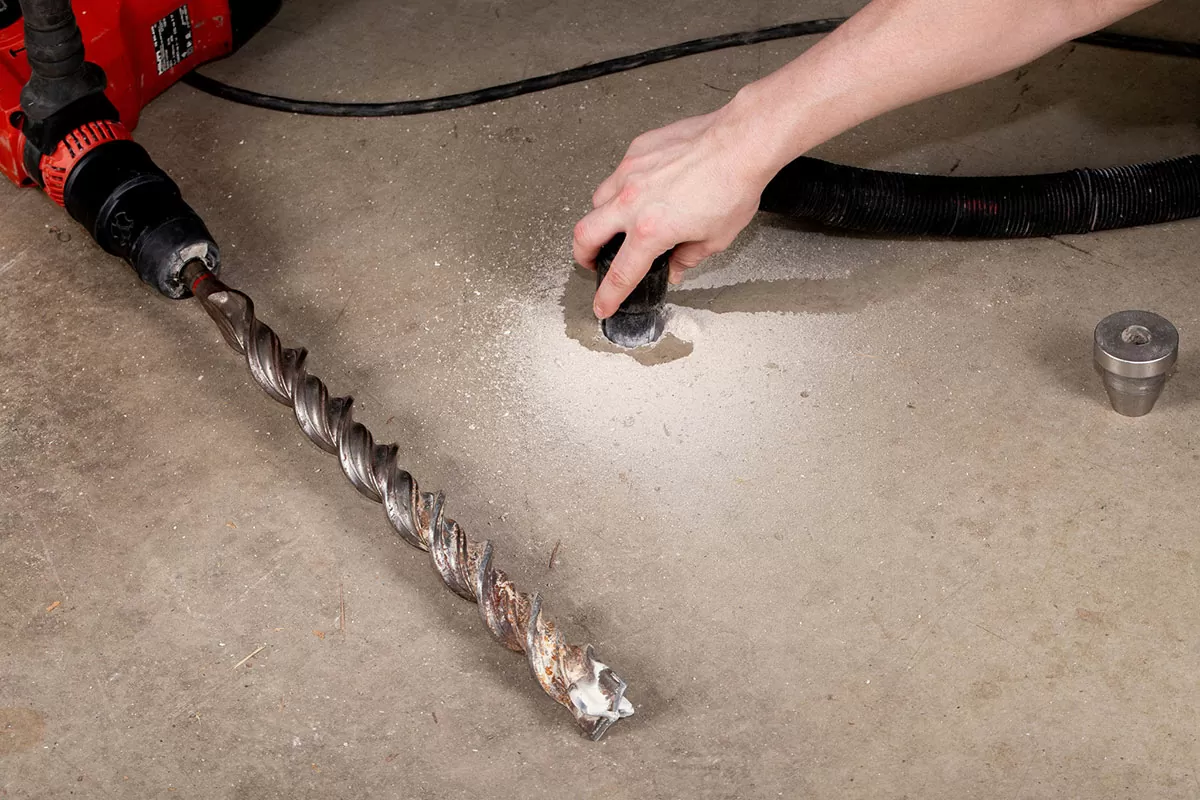
Step 2
Keep up on dust management with a Wet/Dry Vacuum. HEPA filter optional.
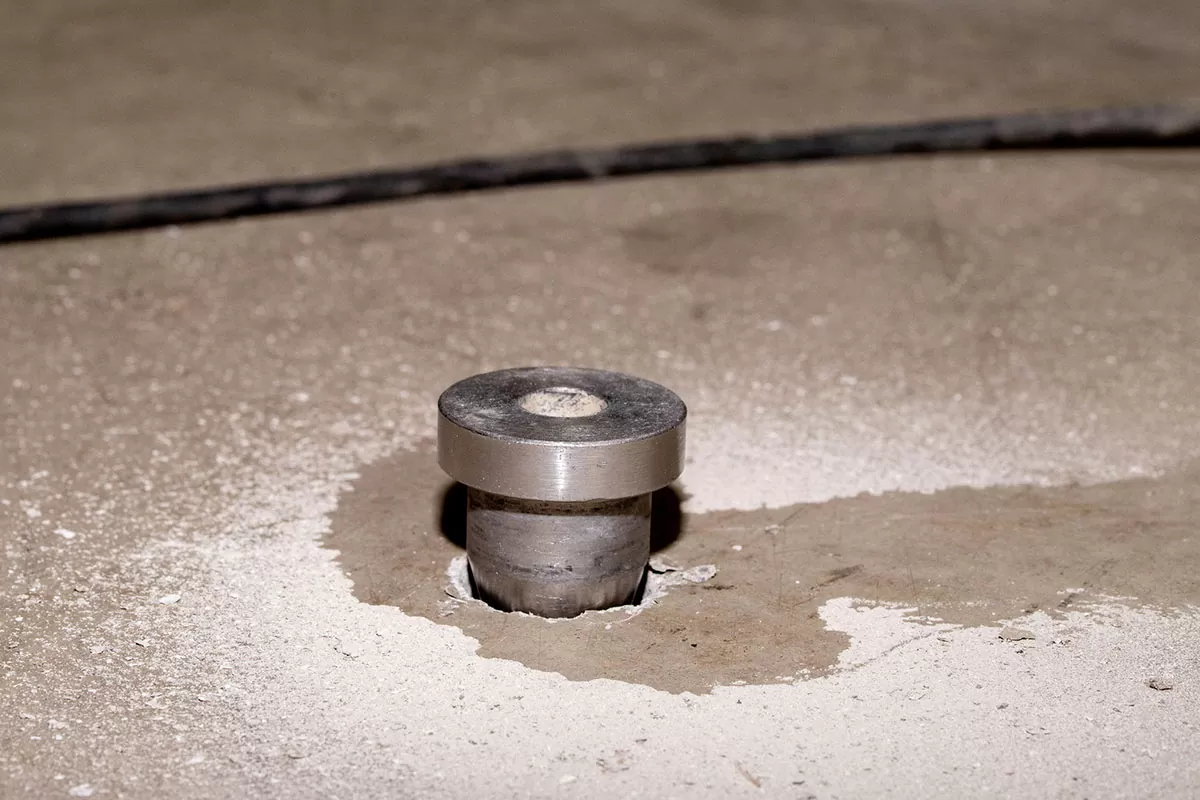
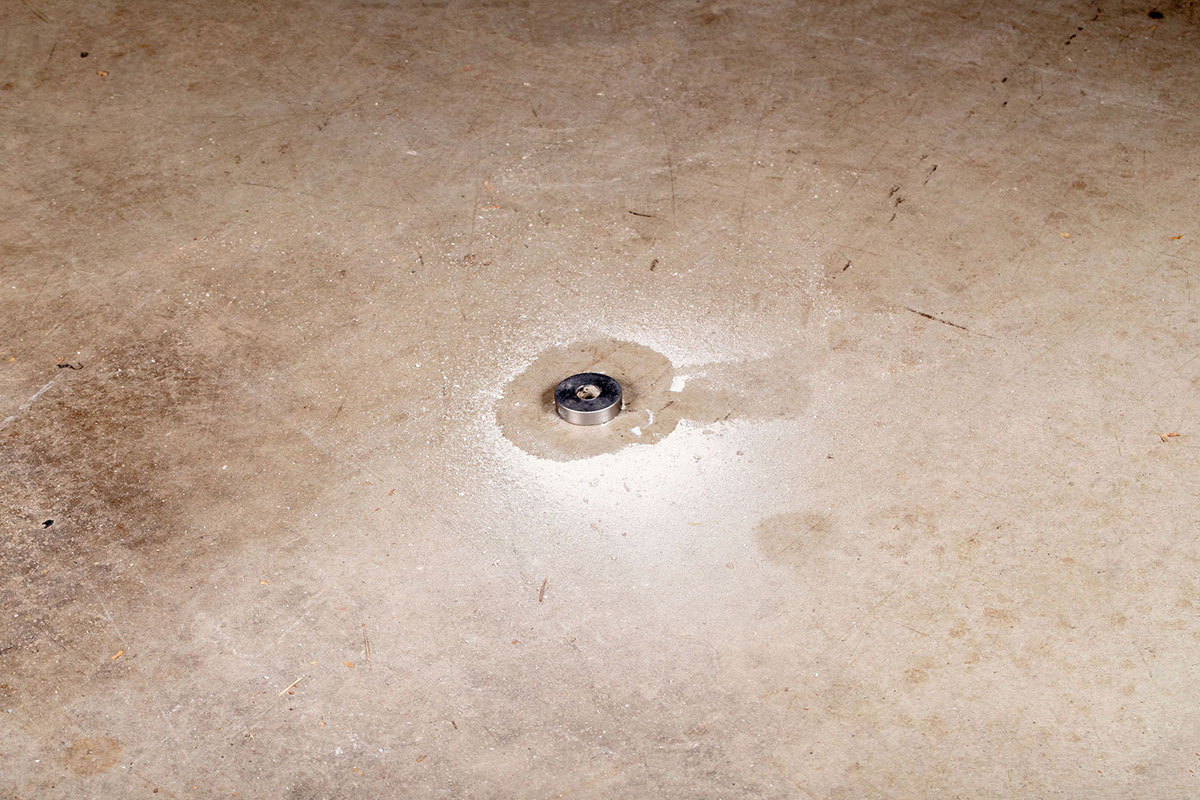
Step 3
Use the Drilling Guide to verify the depth of the hole until you are able to make the Drilling Guide flush with the concrete.
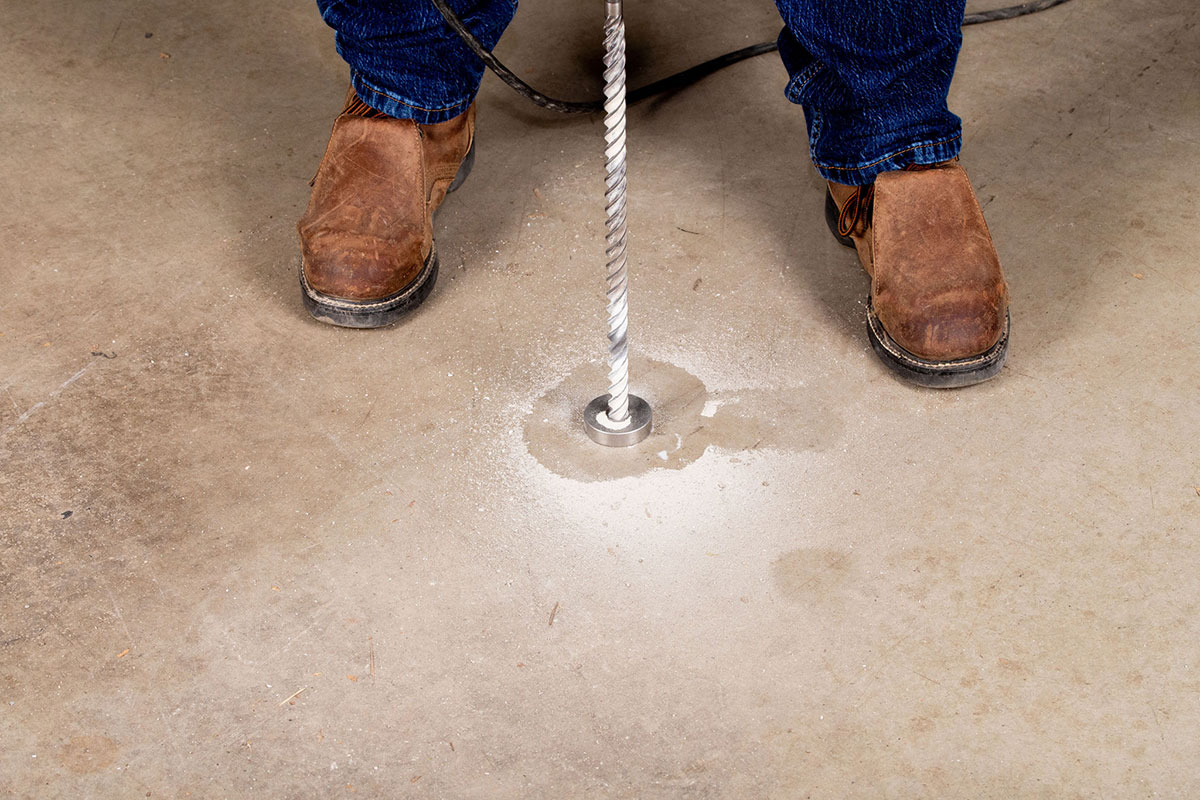
Step 4
Once you have the Drilling Guide flush with the concrete, switch your drill bit to the 5/8 inch bit to create the hole for your Vapor Pin®.
Step 5
The Drilling Guide will help to center the hole for the Vapor Pin® Sampling Device and keep the hole perpendicular to the slab.
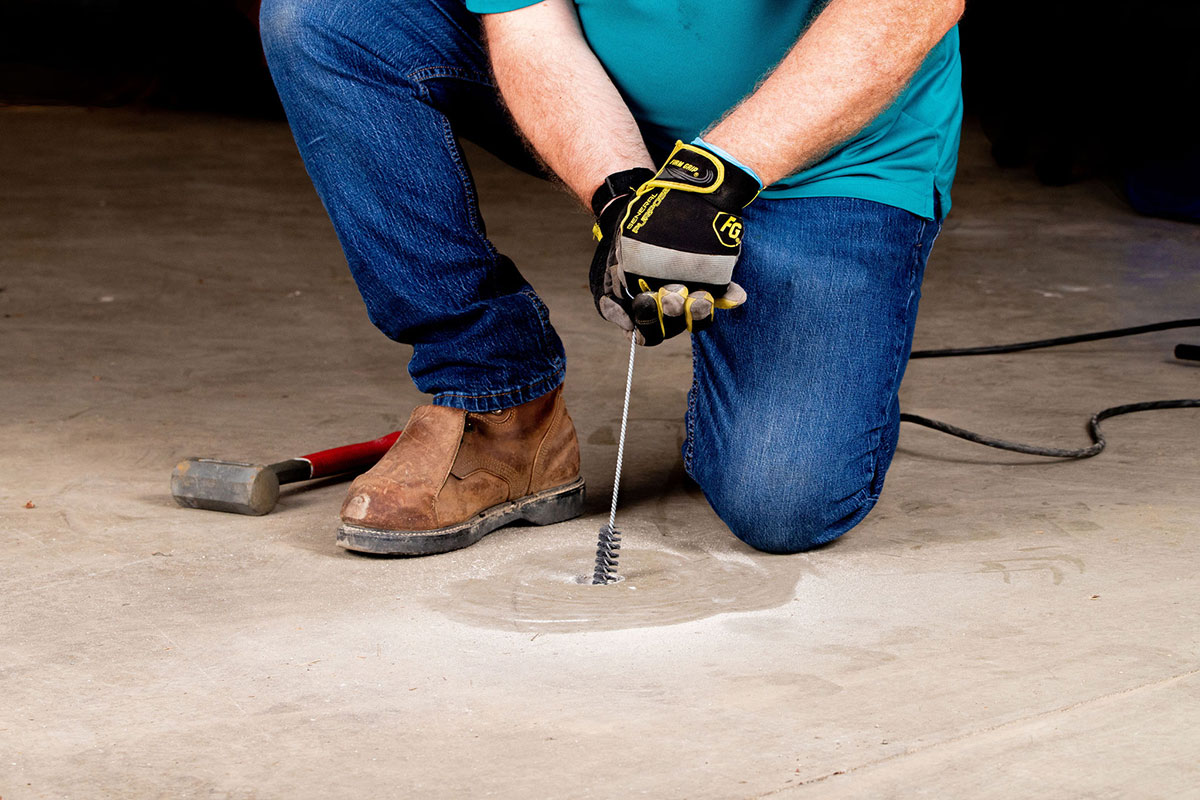
Step 6
After drilling your hole to the proper depth, clean the hole and vacuum the remaining dust.
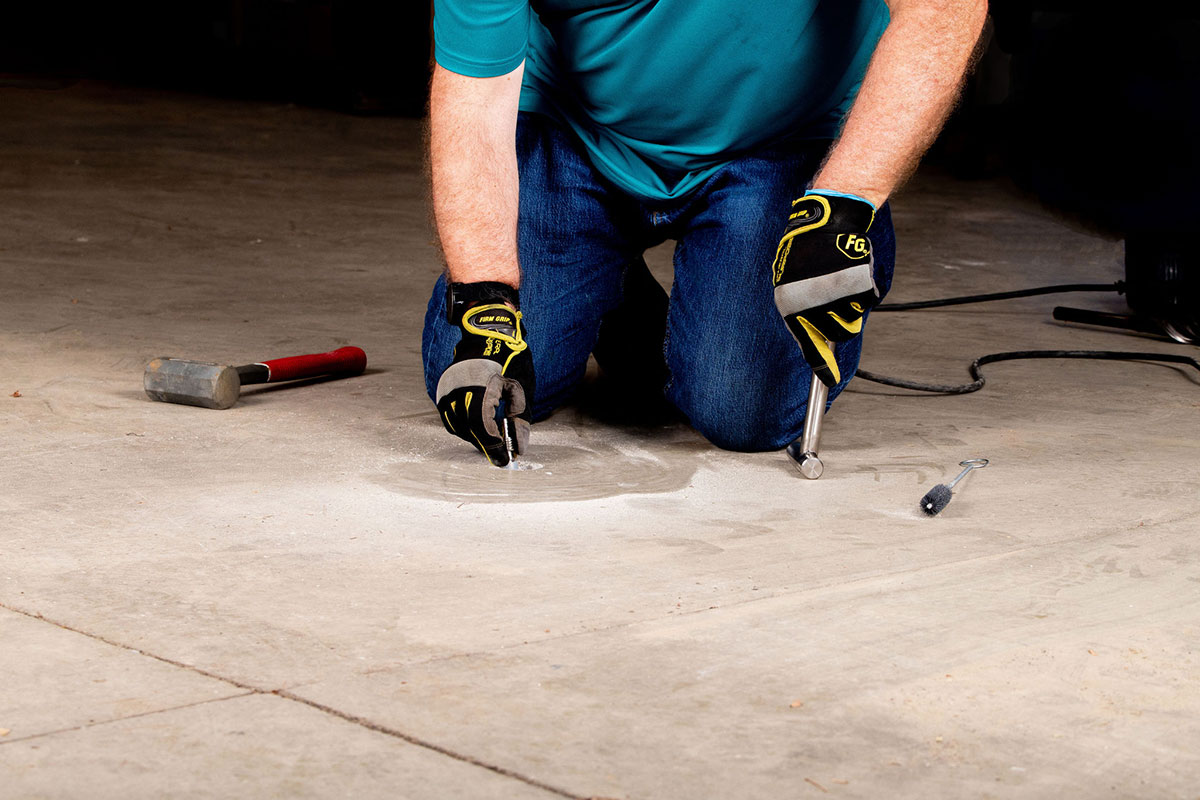
Step 7
Assemble the Vapor Pin® Sampling Device and place the lower end of the Vapor Pin® into the drilled hole.
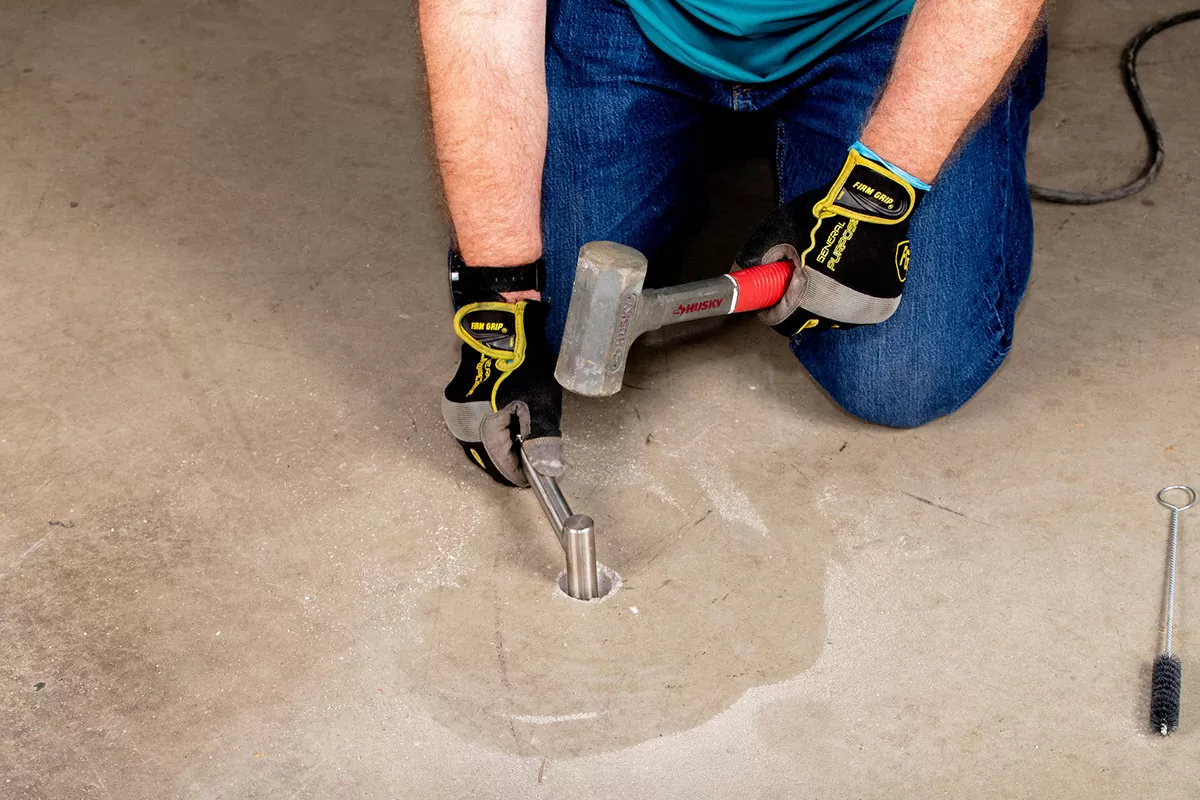
Step 8
Place the small hole located in the handle of the Installation/Extraction Tool, over the Vapor Pin® to protect the barb fitting and tap the Vapor Pin® into place.
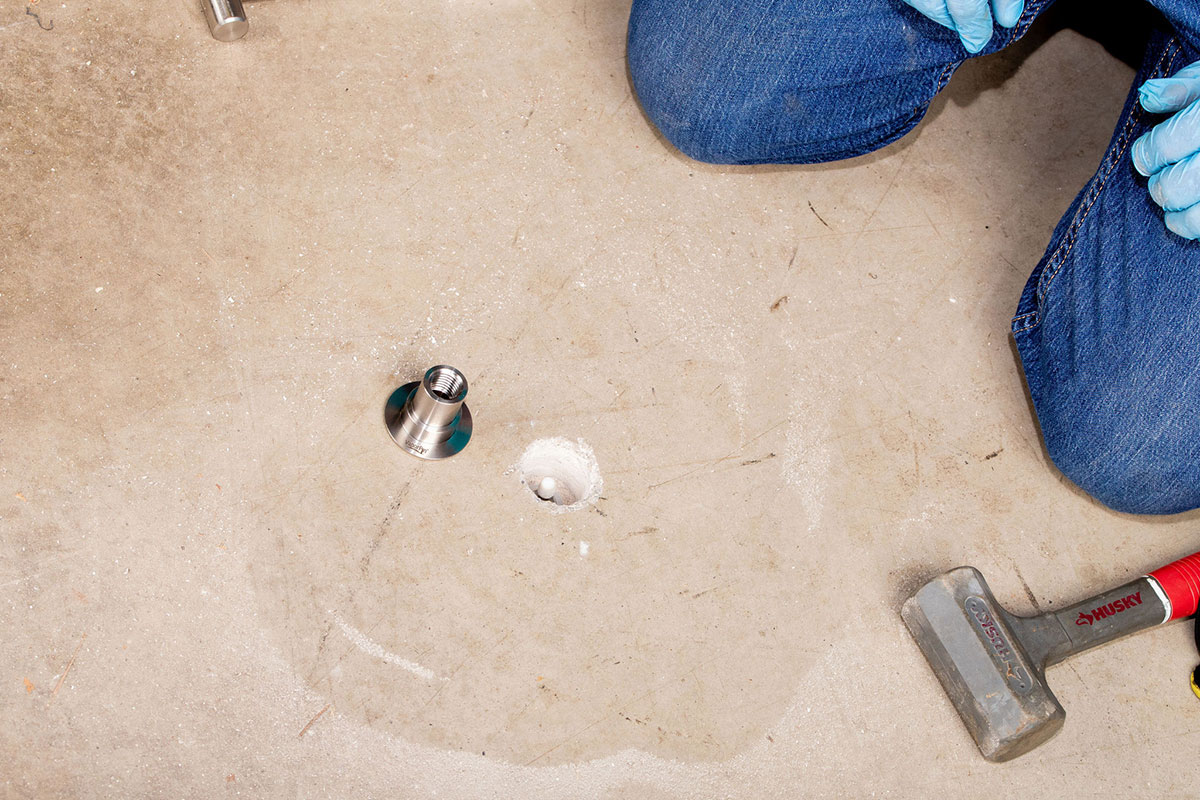
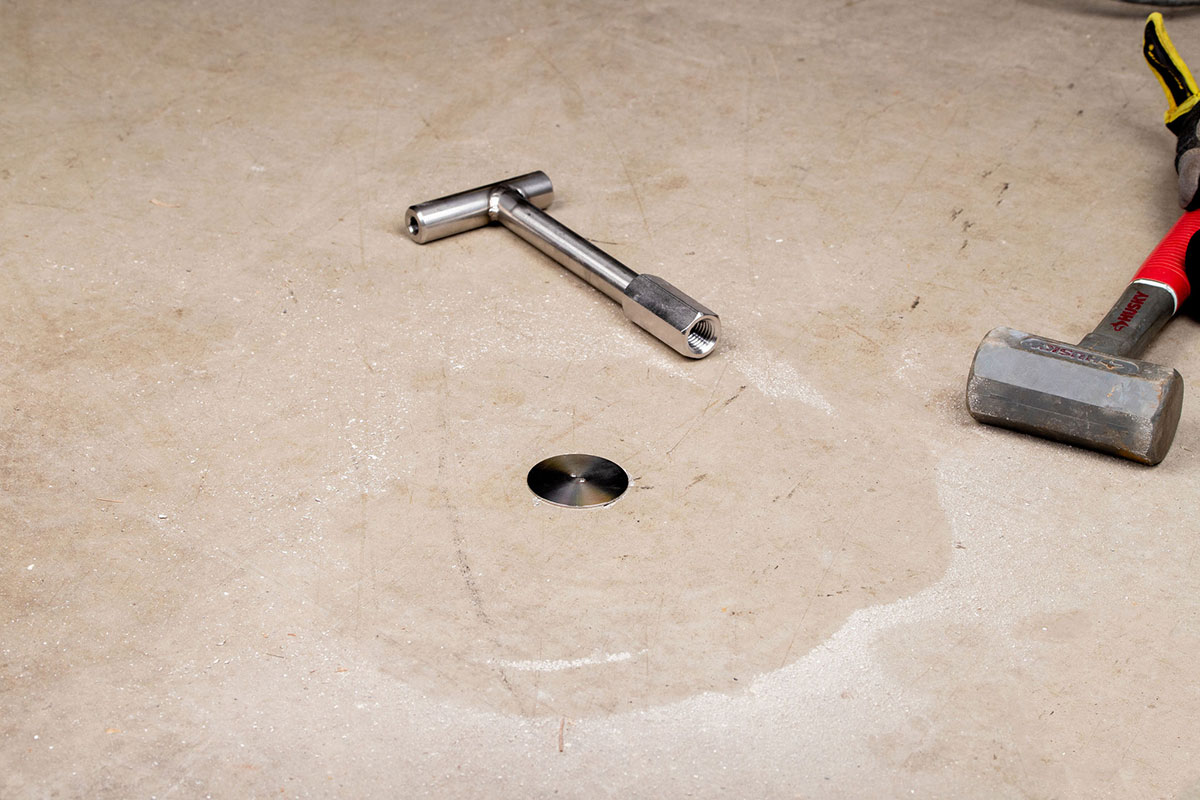
Step 9
Prepare your Stainless Steel Secure Cover.
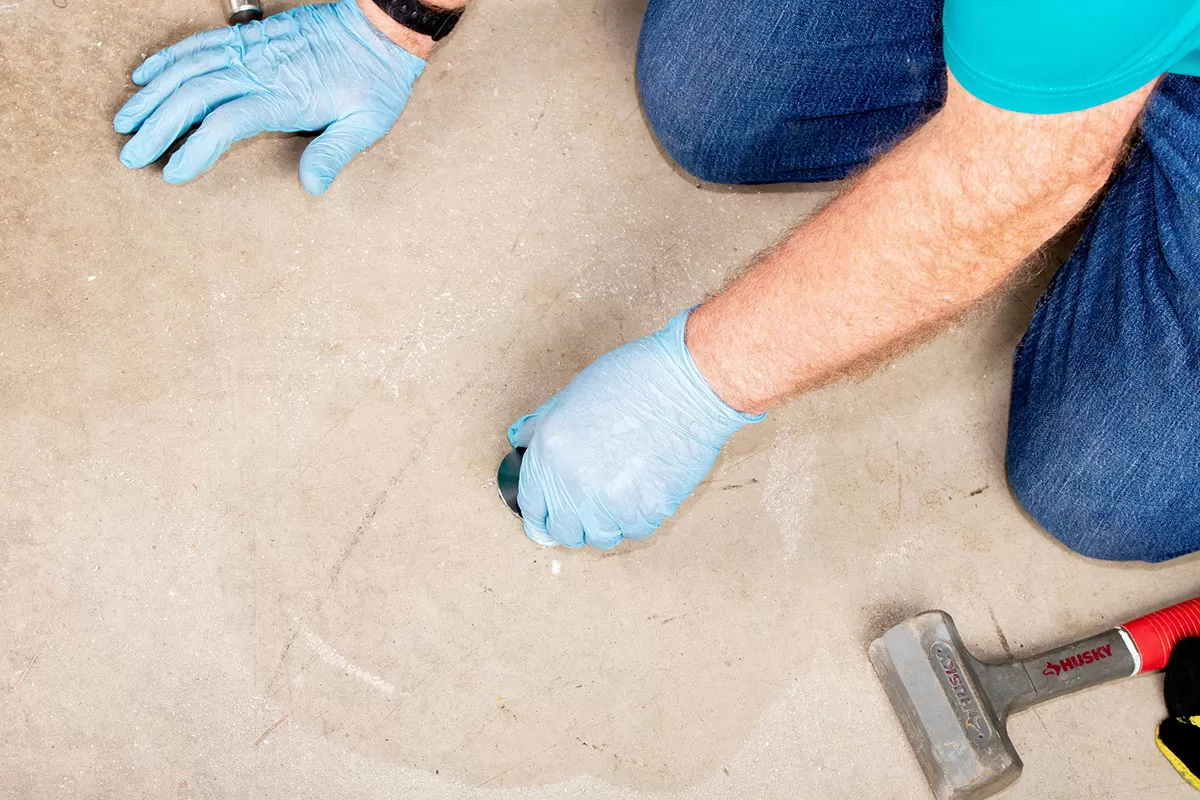
Step 10
Screw the Cover initially by hand.
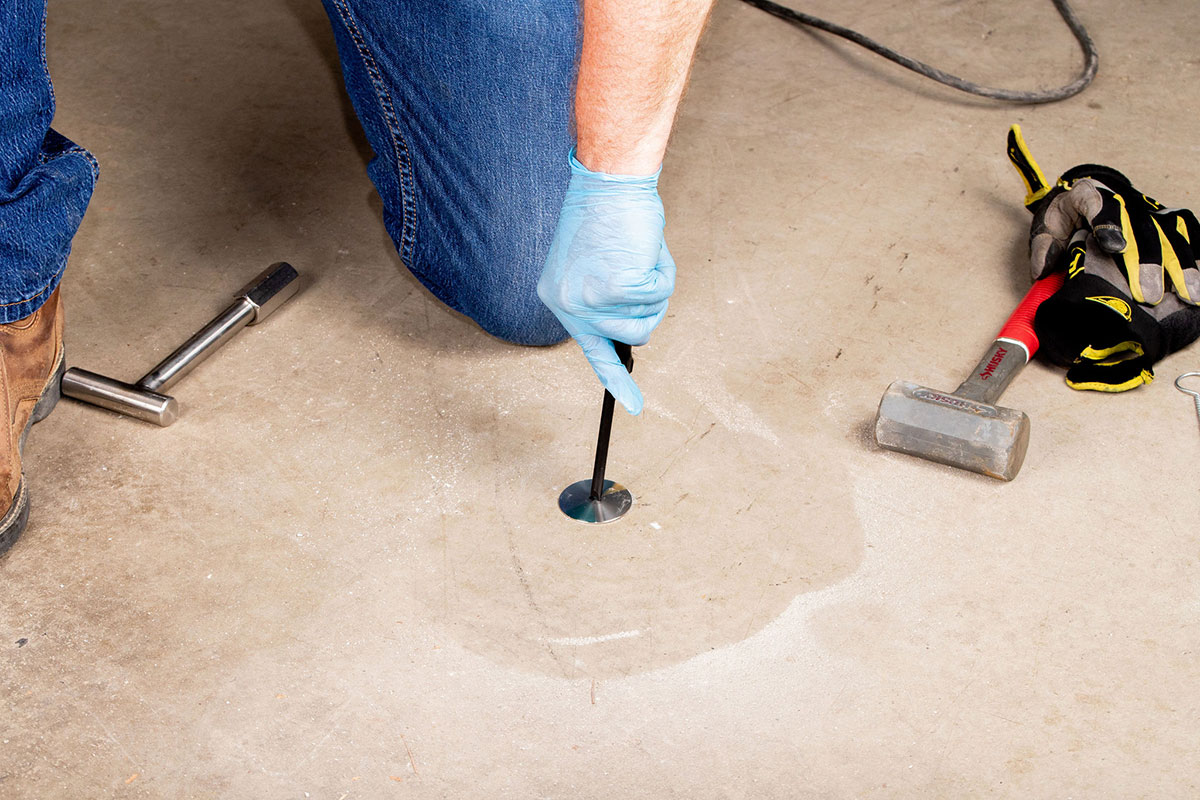
Step 11
Once the cover is too low screw the Stainless Steel Secure Cover the rest of the way by using the Spanner Tool.
Step 12
Allow 20 minutes or more (consult applicable guidance for your situation) for the sub-slab soil-gas conditions to re-equilibrate prior to sampling.